
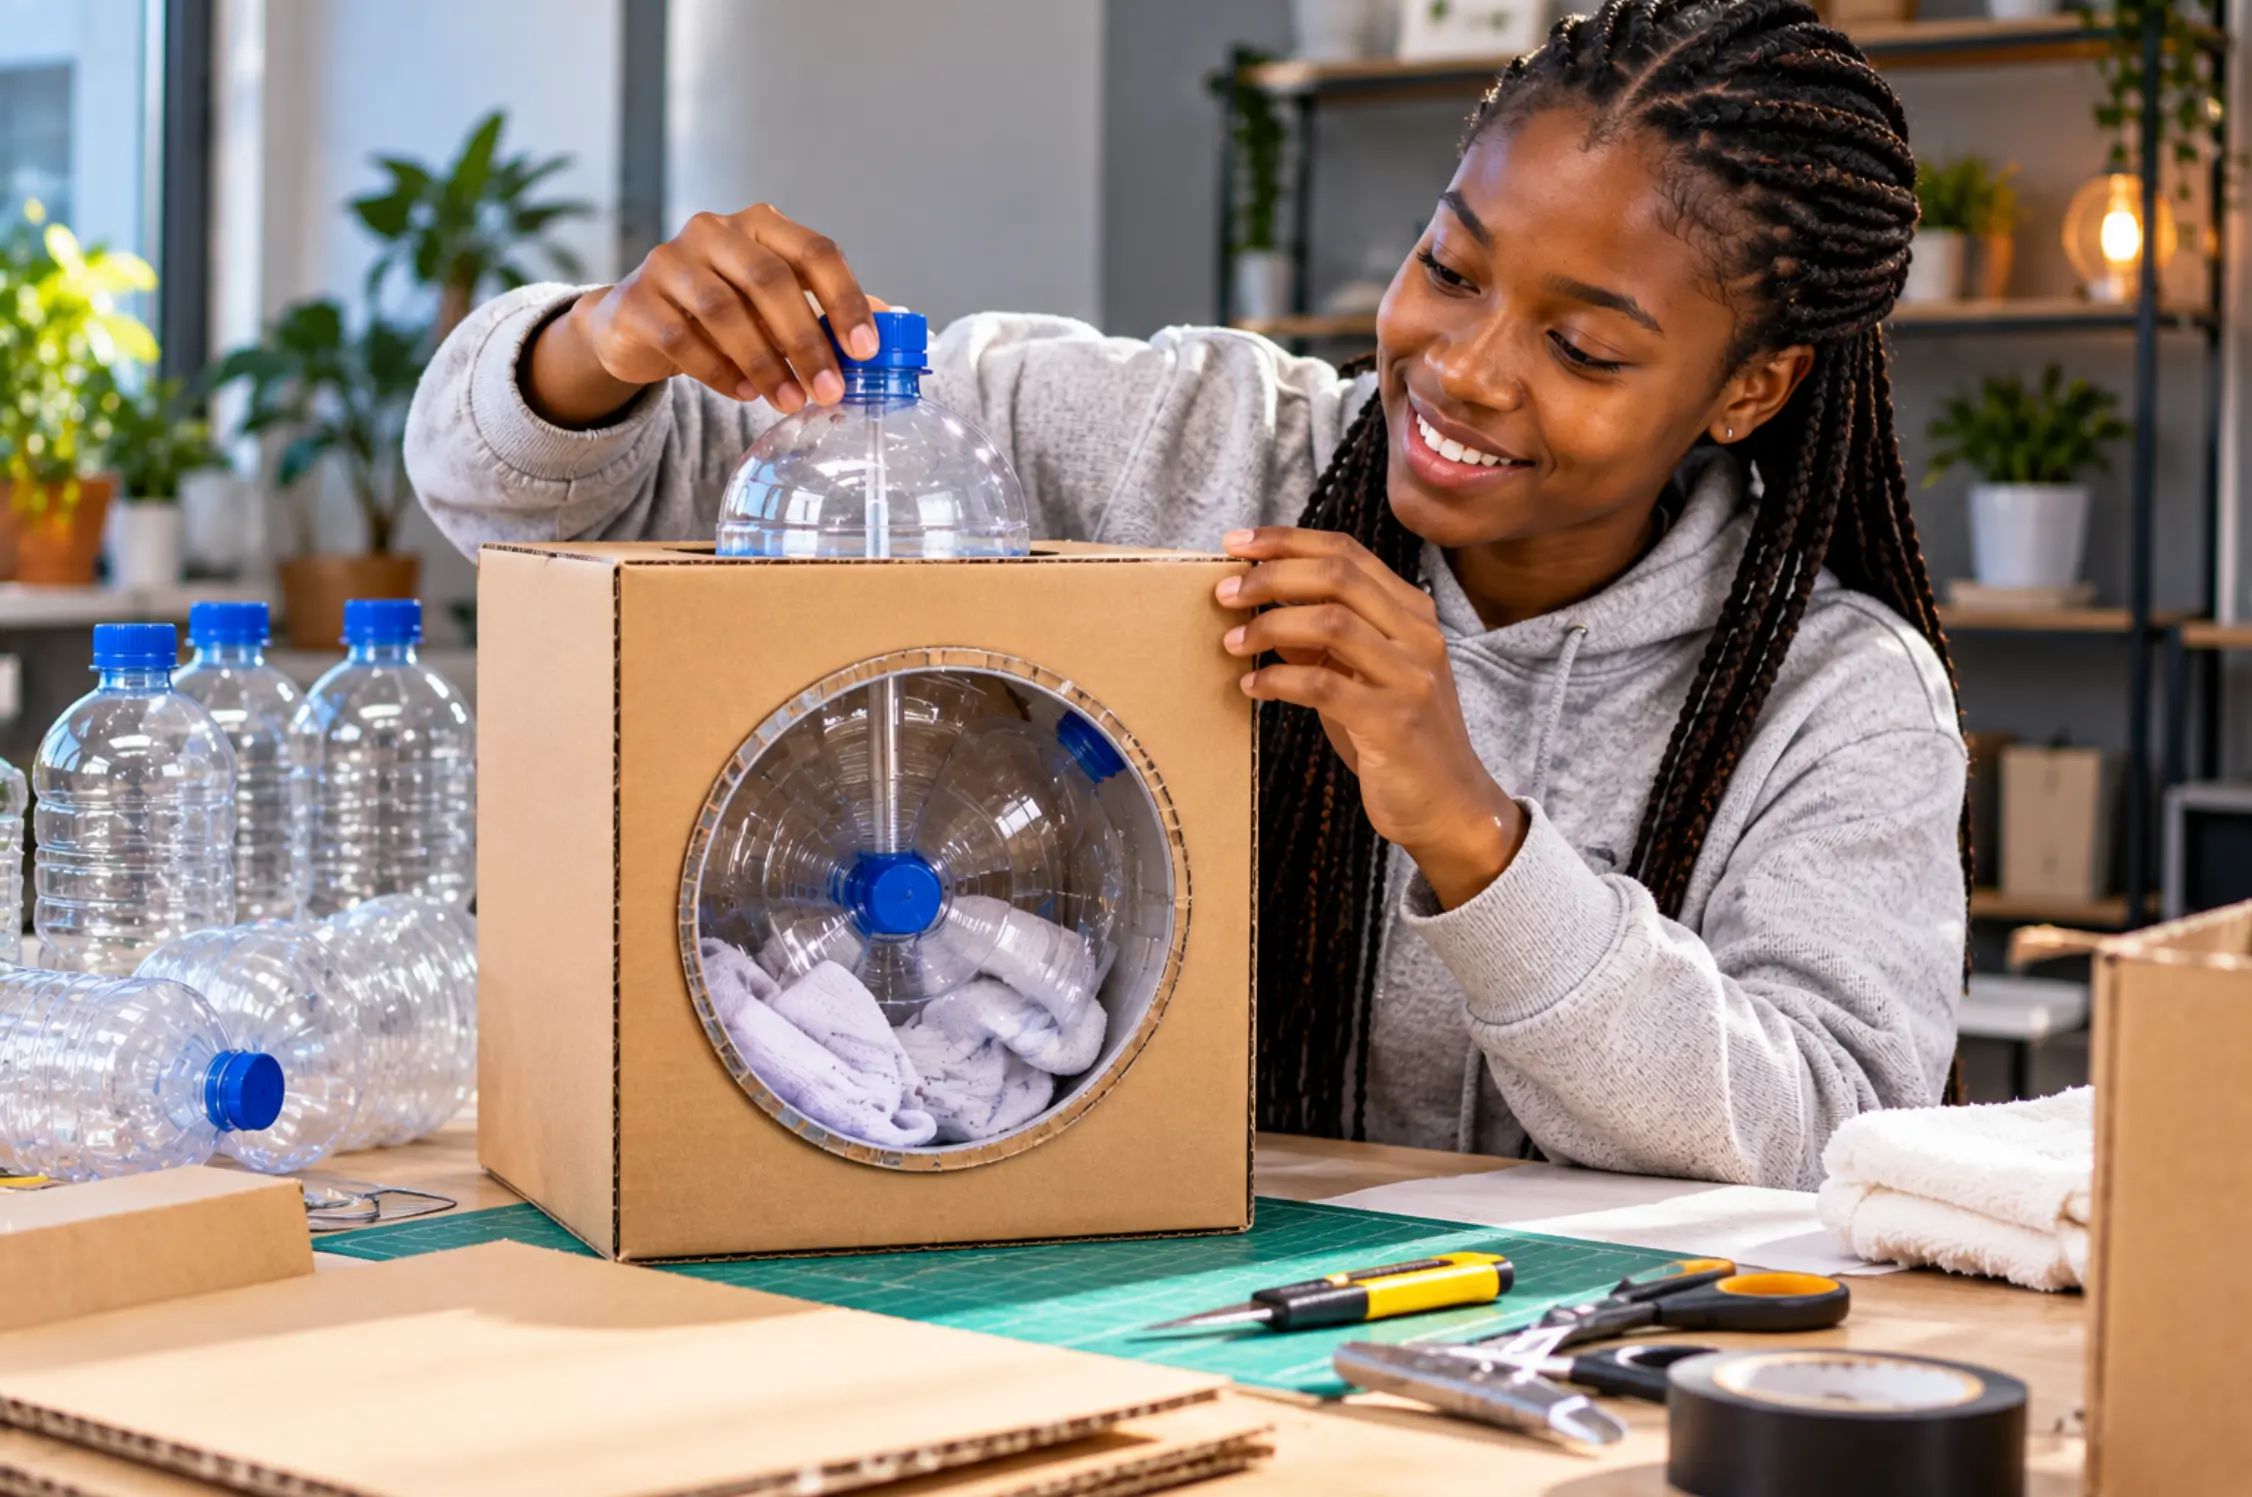
You can make a mini washing machine at home with just a few plastic bottles, waterproof basin and a cardboard box. This low-cost DIY option can be used to wash a couple of socks or a small cleaning cloth without having to use the washing machine.
Bottles will act as the agitator paddles, the waterproof basin will contain the soapy water and the cardboard box will provide a dry shell around the basin.
While this won’t replace your domestic washing machine, this is a fun way to recycle the plastic bottles.
How Does the Washing Machine Work?
This homemade mini washing machine requires you to wash by hand. By moving the handle up and down, the plastic bottle agitator will move the water and laundry to help loosen everyday dirt.
Since this washing machine doesn’t have an electric motor, washing requires more physical effort. But, in return, you have greater control over the washing process.
The different parts of the washing machine have specific functions:
- Plastic bottles – act as a movable washing agitator
- Waterproof basin – holds the water and laundry
- Cardboard box – creates a dry shell around the basin
- Handle and crossbar – allow you to move the washing agitator
When using this machine, always remember to place the basin on a firm and level floor. The cardboard box should not provide any support for the basin.
Materials for Making the Mini-Washer
Before you start, you will need to gather the following materials:
Material Description
Two clean plastic bottles (about 500 ml) Create the washing agitator
Waterproof plastic basin or storage tub Holds the laundry and water
Sturdy cardboard box Makes the dry shell around the basin
Wooden dowel (about 45-60 cm) Acts as the washing machine handle
Short crossbar (about 20-25 cm) Keeps the plastic bottles in place
Plastic cable ties Fastens the bottles and handle
Waterproof tape Closes cracks and provides extra grip
Scissors and ruler Measure and cut materials
Laundry soap or washing powder Cleans the laundry
Always use clean, unbroken plastic bottles to make the agitator paddles. Ensure that the plastic bottles are not made with petrol, chemical liquids or other hazardous substances.
Adults must handle a craft knife or saw when cutting the materials.
Step 1 – Cardboard Box and Basin Preparation
Select a cardboard box that is somewhat larger than the waterproof basin. Cut the edges of the top flaps and the bottom of the box to create a sleeve that fits around the basin. Ensure that any sharp edges are covered with waterproof tape. This will prevent the clothes from catching on the cardboard and provide protection for your hands.
Place the basin on a firm, level floor. Slide the cardboard sleeve around the basin.
Make sure that the box remains dry and does not bear the weight of the basin. The tub must be able to be removed and replaced with ease for cleaning and drying.
Step 2 – Create the Agitator
The agitator is a combination of a few parts that will move the water and laundry to loosen dirt.
Attach the short crossbar to the lower end of the dowel. Use several pieces of cable tie to secure the connection.
Place a plastic bottle (with the cap on) on either side of the crossbar. Secure the bottles in at least two places so that they do not move or slip during the washing process.
You can use waterproof tape to prevent the cap from loosening where the cable tie is attached to the plastic bottle.
Use the cable tie to secure the crossbar and the bottle. You may need to cover any exposed or jagged edges with tape.
Avoid cutting the plastic bottle to create the blades of the agitator. Sharp edges may cut your hands or damage the clothes.
If the handle, crossbar, or plastic bottle do not connect and stay together, do not attempt to use this agitator.
Step 3 – Test the Agitator without Water
Before you add any soapy water to the basin, test the movement of the agitator. Place the agitator over the empty basin and move it around with your hands.
Ensure that the bottles of the agitator do not hit the sides of the basin. Make sure that the handle is easy to hold and that the agitator does not shift.
You may want to tighten any loose cable tie and cover any exposed sharp edges.
Never test a faulty agitator with a basin of soapy water.
Step 4 – Add Water, Laundry Soap and Laundry
Only use this mini washing machine to wash a small amount of lightweight laundry. A couple of socks or a cleaning cloth is a good start.
Add water to the basin until the laundry is soaked but there is still room for the agitator to move around.
The amount of water will depend on the size of the basin and the amount of laundry that you are washing.
Always follow the instructions on the laundry soap or washing powder label. Too much soap can make it difficult to rinse the laundry afterwards.
Do not overload the basin with too much laundry. This will reduce the movement of the agitator and may make it difficult to hold onto the handle.
Step 5 – Wash the Clothes
Use the handle to move the agitator in and out of the soapy water in the basin. The swishing motion will move the soapy water around the laundry to loosen the dirt.
Work in short bursts, so that you can check on the progress of the washing. If the basin moves around or the cardboard sleeve begins to get wet, stop immediately.
This mini washing machine is only designed to wash a small amount of lightweight laundry. It is not suitable for washing heavy towels, jeans or large amounts of laundry.
Step 6 – Rinse and Dry
Once you have finished washing, remove the laundry and rinse it in clean water until all of the soapy water has been removed. Empty the basin into a drain, following local regulations.
Rinse the basin and plastic bottles and dry them thoroughly. You should keep the cardboard sleeve away from water while you are cleaning the other parts.
Store all the materials until they are completely dry. Wet cardboard can become soggy, develop mould and lose its shape.
Safety Tips
A few simple safety tips can keep everyone safe when using the washing machine.
Always place the basin on a flat floor and not on top of the cardboard box. Check the condition of the bottles, basin, handle and cable ties before each wash.
Make sure that the cap on the plastic bottle is securely fastened and that you have secured any jagged edges with tape.
Avoid vigorous shaking or movement that might cause the water to splash out of the basin.
Never leave a working agitator unattended. If anything begins to come apart during the washing process, stop immediately and examine the problem.
Keep children away from any sharp objects and never leave the washing machine unattended.
The cardboard box should only provide a dry shell for the basin. Never allow it to bear the weight of the basin or the laundry.
Troubleshooting
Problem Solution
Cardboard box gets wet Remove the basin and let the cardboard box dry. Examine the basin for any leaks or splashing and adjust it before using the washing machine again. You may have to replace the cardboard box if it becomes wet.
Bottles wobble during the wash Stop the washing process and examine the cable tie and crossbar to see if they have come loose. Adjust the agitator before you continue washing.
Laundry does not get clean Try reducing the amount of laundry and follow the instructions on the laundry soap or washing powder. This mini washing machine only provides basic washing and cannot replace a domestic washing machine.
Basin rolls or slides Move the basin to a flat, non-slip surface. Never attempt to balance the washing machine by adding more weight to the cardboard box.
Is a DIY Mini Washing Machine Worthwhile?
This mini washing machine provides a fun experiment in washing with a manual agitator. It keeps the process simple and allows you to use recycled materials. But, it can only wash small amounts of lightweight laundry.
A home washing machine provides greater flexibility and power. If you need to wash a large amount of laundry or wash thick clothes, consider using the washing machine or washing the clothes by hand.
FAQs
Can I make a washing machine using plastic bottles?
Yes. You can make a mini washing machine using plastic bottles, a waterproof basin and a cardboard box. You will also need to create a handle from a wooden dowel and use cable tie to secure the different parts.
Does the homemade washing machine need electricity?
No. This washing machine does not have an electric motor. Instead, it requires you to move the handle and agitate the laundry by hand.
Can it wash jeans and towels?
No. The miniwasher is only intended for washing lightweight laundry such as socks and a cleaning cloth.
Can I use the cardboard box to hold the water?
No. The cardboard box is only intended to provide a dry shell for the waterproof basin. Cardboard is not waterproof and will get soggy when it comes into contact with water.
How much does it cost to make?
It depends on what materials you already have at home. Making this DIY miniwashing machine is a great way to make use of old materials. However, you may have to spend some money on the dowel, cable tie or waterproof tape.
Final Thoughts
Making a mini washing machine is a fun way to make use of plastic bottles, a waterproof basin and a cardboard box. By creating a basic agitator mechanism, you can move the wet laundry around in soapy water to loosen the dirt.
The most important safety rule when using this mini washing machine is to keep the water in the basin and avoid getting the cardboard box wet.
Build the washing machine carefully and always test the agitator before adding soapy water to the basin. Wash small items of lightweight laundry with this mini washing machine and always follow the basic safety rules.
Sources and Verification: This article is based on the DIY instructions provided for this project. The design has not been tested or verified.
Editorial Note: This is a hands-on recycling project and not a fully tested washing machine or a replacement for a domestic washing machine.
